Artist process - making Jewellery in the studio
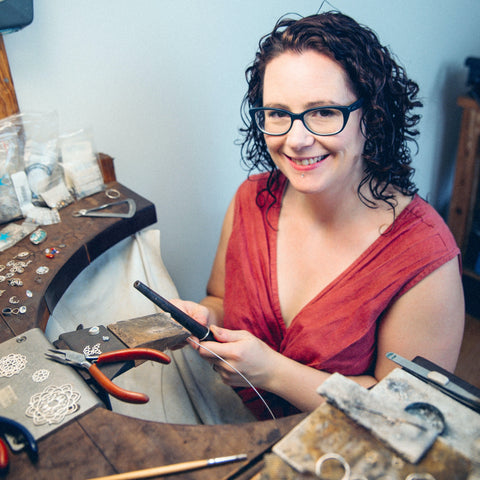
Have a look inside my studio and get some insight into the process involved in hand making your jewellery.
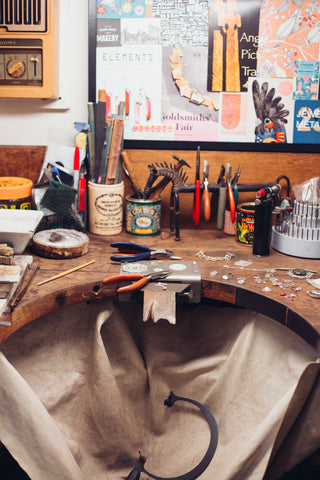
The heart of where it all happens - my jewellery bench. The benchpeg in the middle is where you hold the pice you are working on. You have all the tools you need regularly within reach so you don't need to keep moving. A jewellers bench is high so that you do not bend over when looking at such small things. I sit in close, in the cut out area and the leather hanging below is used to catch all the silver and gold filings so they can be melted and used again.
Making a Ring
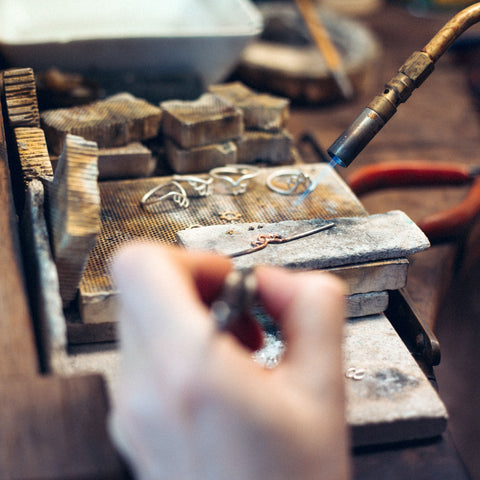
I cut out and carefully arrange all of the pieces of a design ready to be soldered together. (Silver soldering involves joining the pieces with tiny bits of silver)

Sawing the two ends of the ring to make a perfect join.
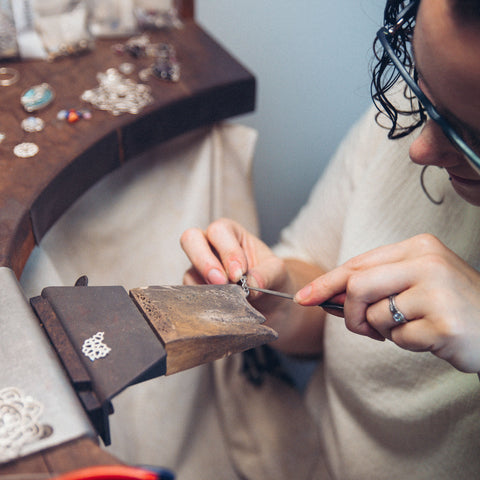
Using a tiny jewellers file to smooth any bumps and marks.
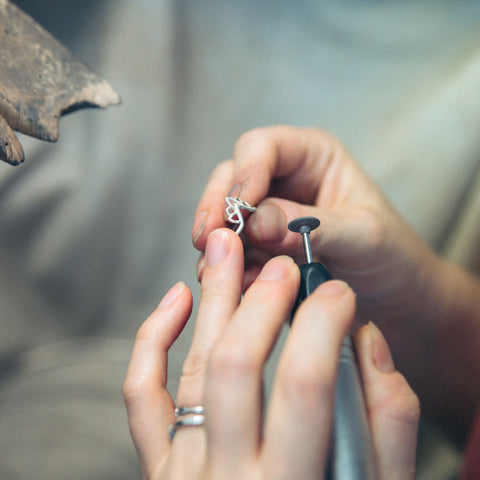
Further smoothing out scratches using a rotating sanding bit on my flexishaft motor.

Using a small polishing brush and polishing compound to polish in the small areas.
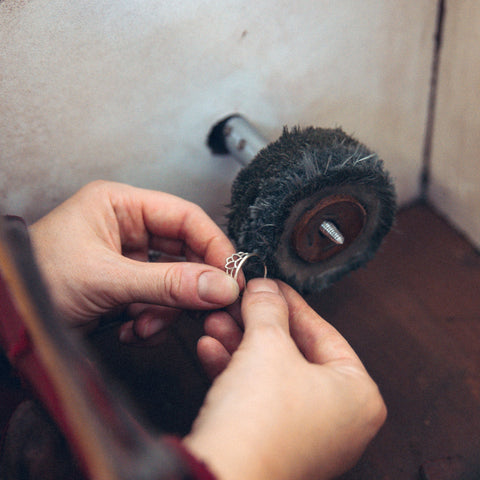
Polishing larger areas on my larger polishing mop motor.
Making a gemstone setting
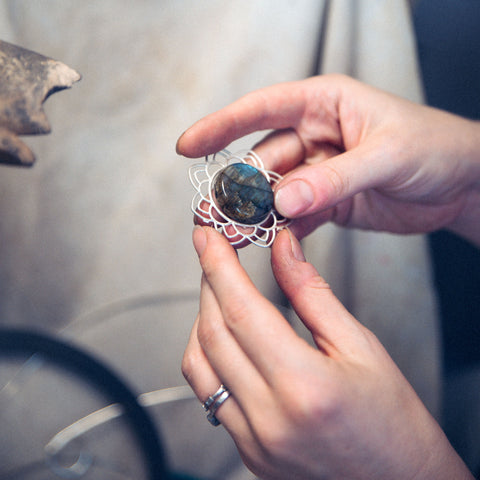
Deciding on a Labradorite gemstone to make into a pendant.
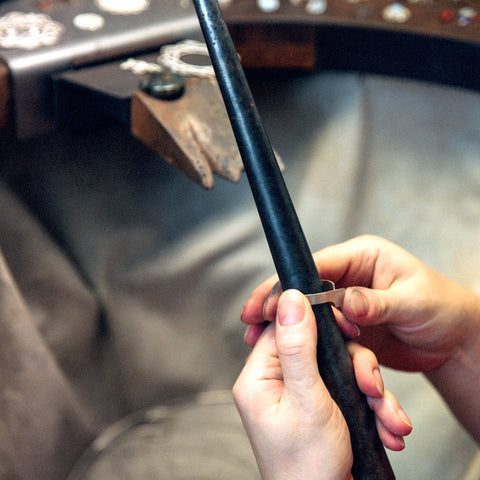
Making a setting for a gemstone, shaping the silver around a steel tapered rod.
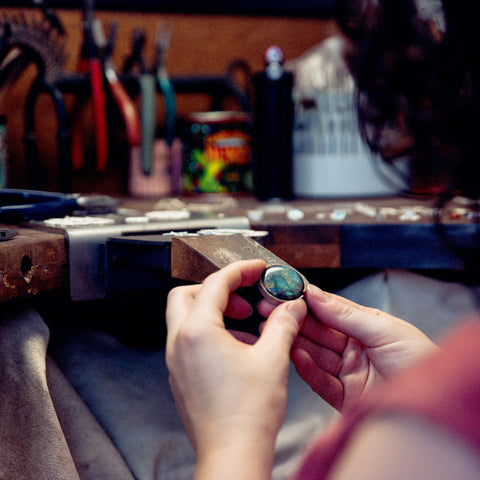
Checking the fit of the silver around the gemstone, it need to fit perfectly!
Final inspections
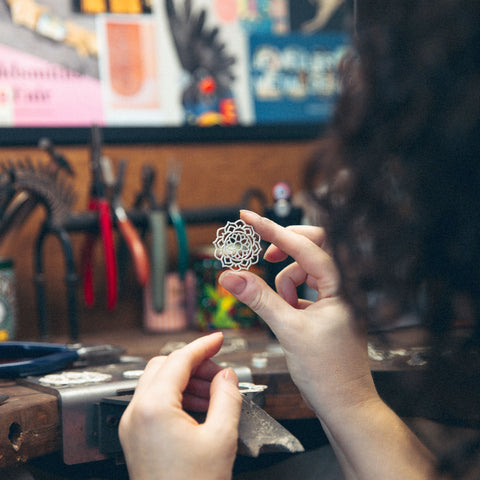
I carefully inspecting pieces all through the process to check it is all perfect.
Shaping recycled melted silver
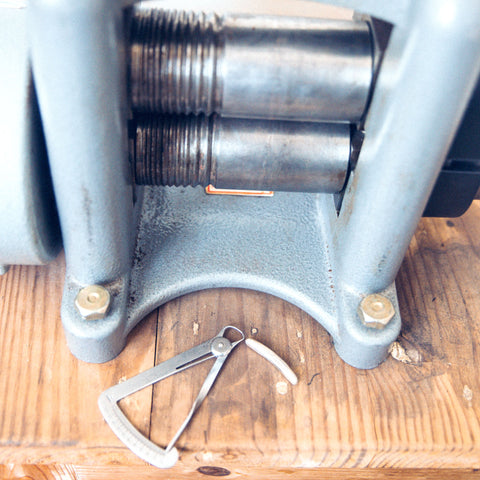
Starting with a lump of melted silver for a chunky ring.
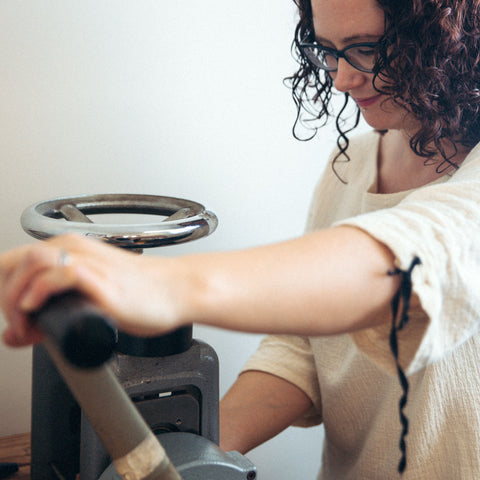
I use my rolling mill to squash and stretch the metal to the size I need to work with.
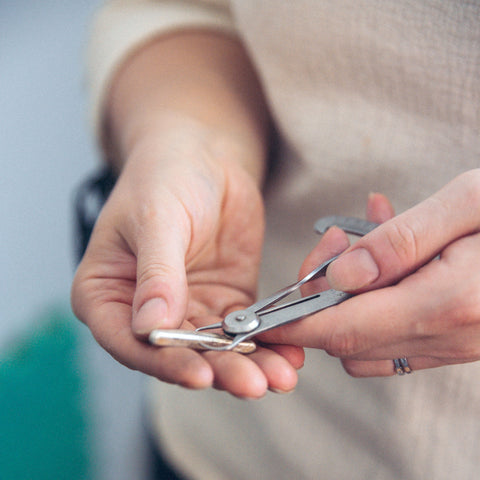
I need to measure the silver each time to check if it is the correct thickness yet.
All photographs by the wonderful Brisbane based Christina Lowry Photography
